Stripe 연동 따라하기 가이드 – ASP.NET Core
본 문서는 Stripe Sandbox(테스트 환경) 을 기반으로 ASP.NET Core MVC(Azunt.Web) 프로젝트에 Stripe 일회성 결제를 연동하는 과정을 따라하기 방식으로 설명한 기술 문서입니다.
Stripe 회원가입부터 API Key 설정, appsettings.json 및 secrets.json 구성, Program.cs & Startup.cs 설정, Stripe.NET 패키지 설치, 테스트용 결제 컨트롤러 구현, 샌드박스 결제 실습까지 모든 단계를 포함합니다.
1. Stripe 계정 생성 및 테스트 모드 설정
1) Stripe 계정을 생성합니다.
https://stripe.com 에서 회원가입을 진행하고 Dashboard에 로그인합니다.
그림: Stripe.com 회원 가입
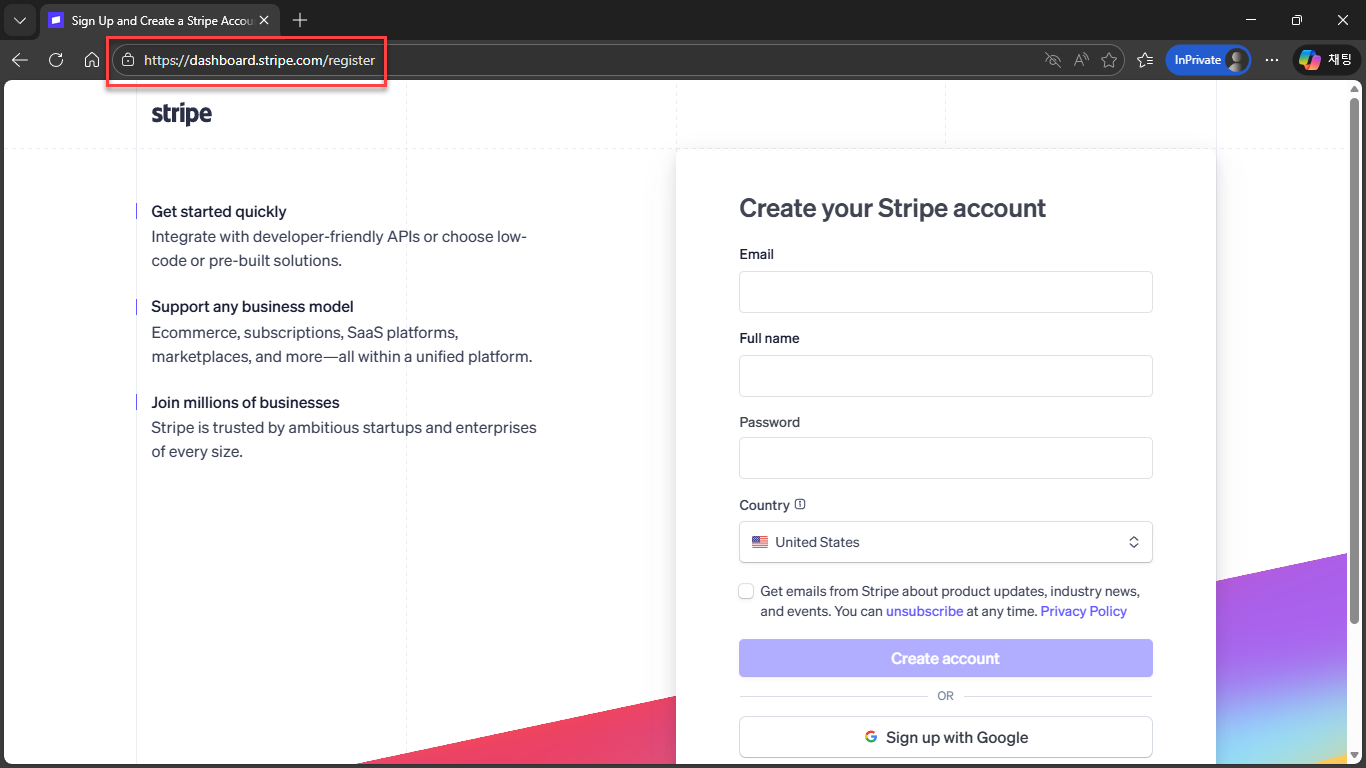
그림: Stripe 설정
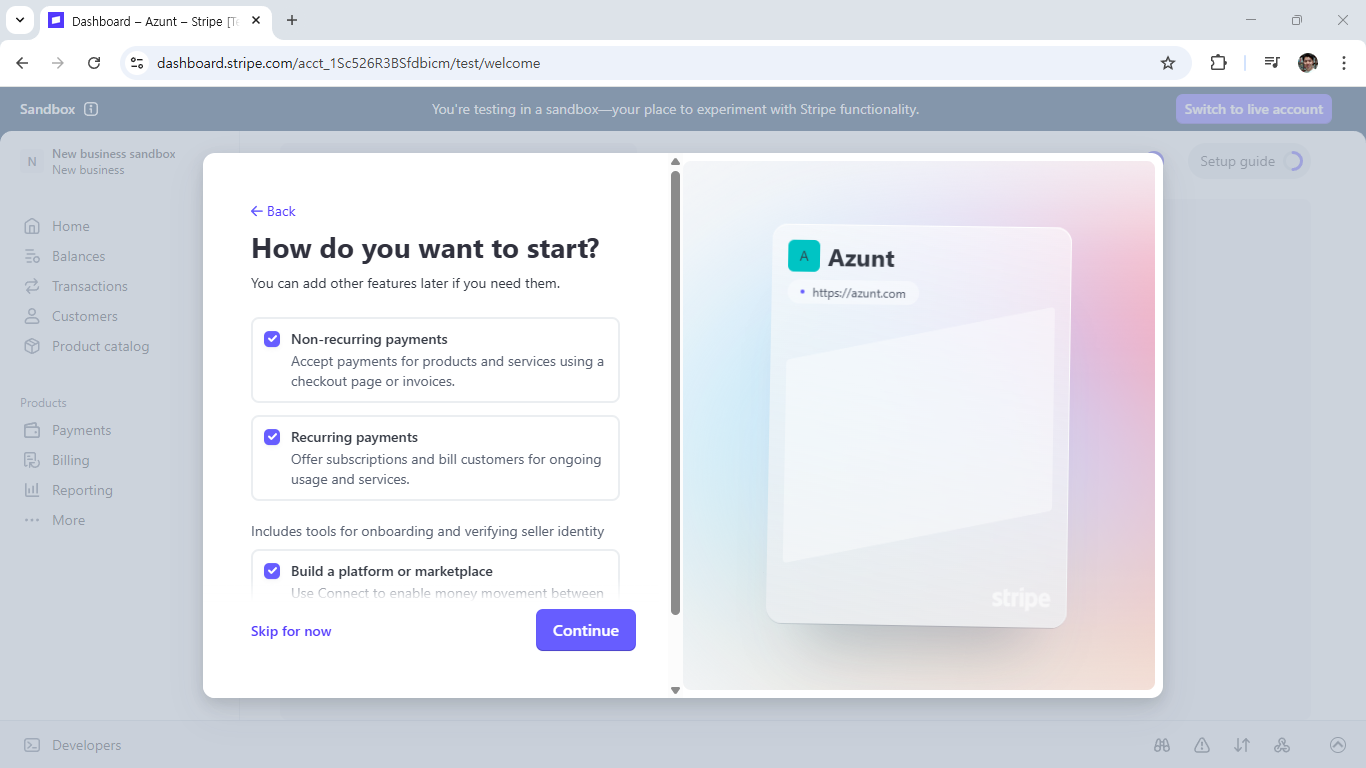
2) 테스트 모드(Test mode)를 활성화합니다.
Stripe Dashboard 상단의 “Test mode” 스위치를 켭니다. 테스트 모드에서는 실제 금액이 청구되지 않습니다.
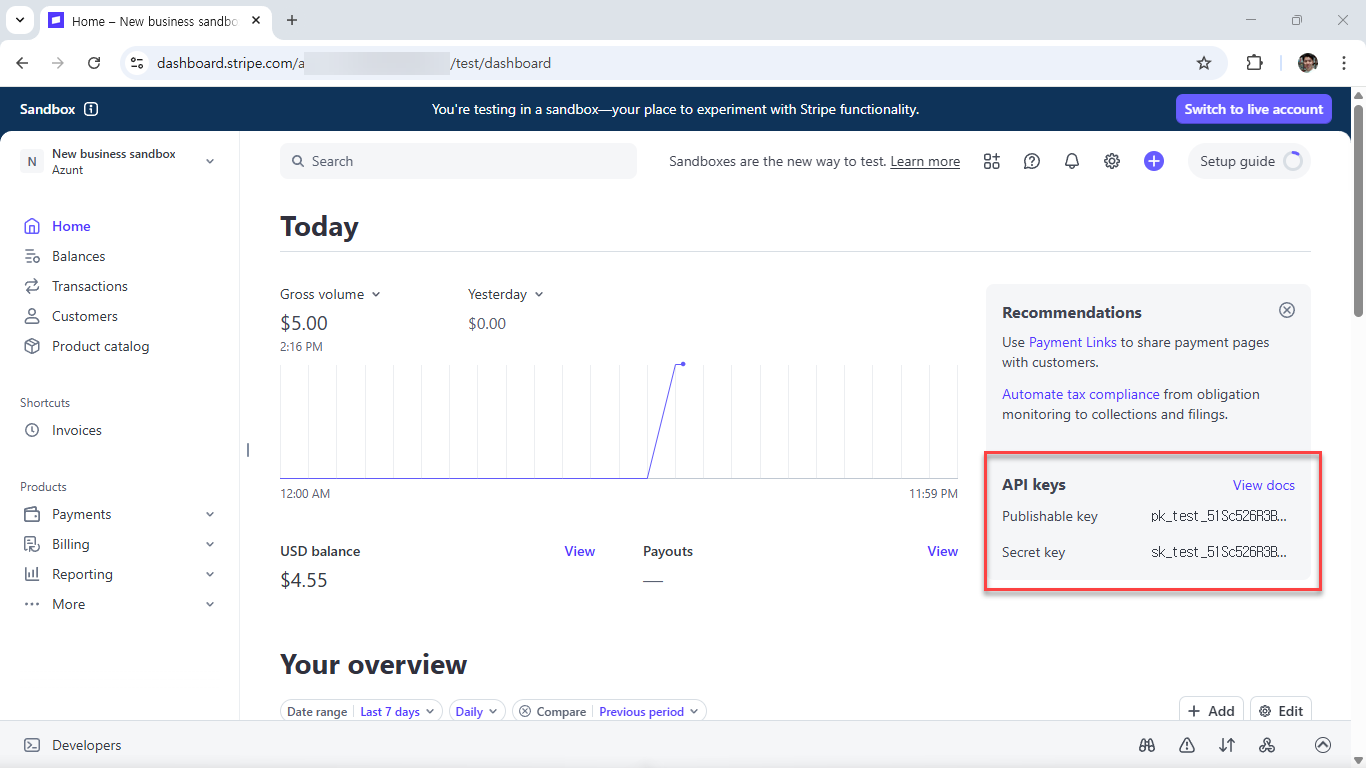
3) 테스트 API 키를 확인합니다.
Dashboard → Developers → API Keys에서 다음 두 키를 확인합니다.
- Publishable key:
pk_test_**** - Secret key:
sk_test_****
이 키들은 테스트 환경에서만 동작하는 안전한 테스트 키입니다.
그림: Stripe 결제 테스트용 API 키 값 확인
2. Stripe.NET 패키지 설치
Stripe SDK를 사용하기 위해 다음 명령을 실행합니다.
dotnet add package Stripe.net
해당 패키지를 설치하면 Stripe API 호출을 위한 .NET SDK가 준비됩니다.
3. Stripe 설정 클래스 생성
Stripe 설정 값을 담을 POCO 클래스를 생성합니다.
Settings/StripeSettings.cs
namespace Azunt.Web.Settings
{
    public class StripeSettings
    {
        public string PublishableKey { get; set; } = string.Empty;
        public string SecretKey { get; set; } = string.Empty;
    }
}
이 클래스는 PublishableKey와 SecretKey를 구성 파일에서 읽어 오기 위한 모델입니다.
4. appsettings.json에 Stripe 섹션 구조만 넣기
(※ 실제 키 값은 넣지 않습니다.)
실수로 GitHub에 SecretKey가 올라가지 않도록, appsettings.json에는 빈 기본 구조만 선언합니다.
appsettings.json
{
  "Stripe": {
    "PublishableKey": "",
    "SecretKey": ""
  }
}
이렇게 하면 프로젝트 구조가 명확해지며, 실제 값은 secrets.json이 덮어쓰기 때문에 안전하게 관리됩니다. Azure Web App으로 게시되었을 때에는 이 값들을 App Service의 Configuration 영역에서 관리하면 됩니다.
5. 실제 Stripe Key는 secrets.json(User Secrets)에 저장
Stripe SecretKey는 절대 GitHub에 커밋되면 안 되므로 User Secrets에 실제 값을 넣습니다.
secrets.json (자동 GitIgnore 대상)
{
  "Stripe": {
    "PublishableKey": "pk_test_xxxxxxxx",
    "SecretKey": "sk_test_xxxxxxxx"
  }
}
이 secrets.json 파일은 개발 PC에만 저장되며 GitHub에 올라가지 않습니다. 실제 Stripe 테스트 결제에서도 이 키 값을 사용하는 방식입니다.
6. Program.cs 설정 (Minimal Hosting 모델)
StripeSettings 바인딩 및 Stripe SecretKey 초기화를 Program.cs에서 설정합니다.
Program.cs
using Azunt.Web.Settings;
using Microsoft.Extensions.Options;
using Stripe;

var builder = WebApplication.CreateBuilder(args);

// -------------------------------------------------
// Stripe 설정 바인딩입니다. (appsettings + secrets.json 통합 로드)
// -------------------------------------------------
builder.Services.Configure<StripeSettings>(
    builder.Configuration.GetSection("Stripe"));

// MVC 서비스 등록입니다.
builder.Services.AddControllersWithViews();

var app = builder.Build();

// -------------------------------------------------
// Stripe SecretKey 전역 설정입니다.
// IOptions<StripeSettings> 의 SecretKey 값으로 StripeConfiguration을 초기화합니다.
// -------------------------------------------------
using (var scope = app.Services.CreateScope())
{
    var stripeOptions = scope.ServiceProvider
        .GetRequiredService<IOptions<StripeSettings>>().Value;

    StripeConfiguration.ApiKey = stripeOptions.SecretKey;
}

if (!app.Environment.IsDevelopment())
{
    app.UseExceptionHandler("/Home/Error");
    app.UseHsts();
}

app.UseHttpsRedirection();
app.UseStaticFiles();
app.UseRouting();
app.UseAuthorization();

// 기본 라우팅 설정입니다.
app.MapControllerRoute(
    name: "default",
    pattern: "{controller=Home}/{action=Index}/{id?}");

app.Run();
위 코드에서 Stripe API 키는 appsettings.json → secrets.json → 환경 변수 순으로 로드되는데, 실제 키는 secrets.json에 있기 때문에 자동으로 secrets.json에서 가져옵니다.
7. Startup.cs 기반 구성 (선택 사항)
Startup.cs를 사용하는 프로젝트에서는 다음과 같이 설정합니다.
Startup.cs – ConfigureServices
public void ConfigureServices(IServiceCollection services)
{
    // Stripe 설정 바인딩입니다.
    services.Configure<StripeSettings>(
        Configuration.GetSection("Stripe"));

    services.AddControllersWithViews();
}
Startup.cs – Configure
public void Configure(IApplicationBuilder app, IWebHostEnvironment env)
{
    // Stripe SecretKey 전역 설정입니다.
    using (var scope = app.ApplicationServices.CreateScope())
    {
        var stripeSettings = scope.ServiceProvider
            .GetRequiredService<IOptions<StripeSettings>>().Value;

        StripeConfiguration.ApiKey = stripeSettings.SecretKey;
    }

    if (env.IsDevelopment())
        app.UseDeveloperExceptionPage();
    else
    {
        app.UseExceptionHandler("/Home/Error");
        app.UseHsts();
    }

    app.UseHttpsRedirection();
    app.UseStaticFiles();
    app.UseRouting();
    app.UseAuthorization();

    app.UseEndpoints(endpoints =>
    {
        endpoints.MapControllerRoute(
            name: "default",
            pattern: "{controller=Home}/{action=Index}/{id?}");
    });
}
이 설정을 통해 프로젝트 어디에서든 Stripe.NET SDK를 이용해 API 호출이 가능합니다.
8. 테스트용 결제 컨트롤러 구현
(요청에 따라 DemoPaymentsController로 구성)
Stripe 샌드박스 환경에서 일회성 결제를 테스트하기 위한 컨트롤러입니다.
Controllers/DemoPaymentsController.cs
using Azunt.Web.Settings;
using Microsoft.AspNetCore.Mvc;
using Microsoft.Extensions.Options;
using Stripe.Checkout;

namespace Azunt.Web.Controllers
{
    public class DemoPaymentsController : Controller
    {
        private readonly StripeSettings _stripeSettings;

        public DemoPaymentsController(IOptions<StripeSettings> stripeSettings)
        {
            _stripeSettings = stripeSettings.Value;
        }

        // GET: /DemoPayments/TestCheckout
        [HttpGet]
        public IActionResult TestCheckout()
        {
            // Checkout Session 생성 옵션입니다. (Non-recurring, 일회성 결제)
            var options = new SessionCreateOptions
            {
                Mode = "payment",
                SuccessUrl = Url.Action("Success", "DemoPayments", null, Request.Scheme)!,
                CancelUrl = Url.Action("Cancel", "DemoPayments", null, Request.Scheme)!,

                LineItems = new List<SessionLineItemOptions>
                {
                    new SessionLineItemOptions
                    {
                        Quantity = 1,
                        PriceData = new SessionLineItemPriceDataOptions
                        {
                            Currency = "usd",
                            UnitAmount = 500,  // 5달러입니다.
                            ProductData = new SessionLineItemPriceDataProductDataOptions
                            {
                                Name = "Azunt Test Payment"
                            }
                        }
                    }
                }
            };

            var service = new SessionService();
            var session = service.Create(options);

            // Stripe Checkout 페이지로 redirect합니다.
            return Redirect(session.Url);
        }

        [HttpGet]
        public IActionResult Success()
        {
            ViewBag.Message = "Stripe 테스트 결제가 성공적으로 완료되었습니다. (실제 돈은 빠져나가지 않았습니다.)";
            return View();
        }

        [HttpGet]
        public IActionResult Cancel()
        {
            ViewBag.Message = "Stripe 테스트 결제가 취소되었습니다.";
            return View();
        }
    }
}
9. 샌드박스 결제 테스트
1) 브라우저에서 다음 주소로 이동합니다.
/DemoPayments/TestCheckout
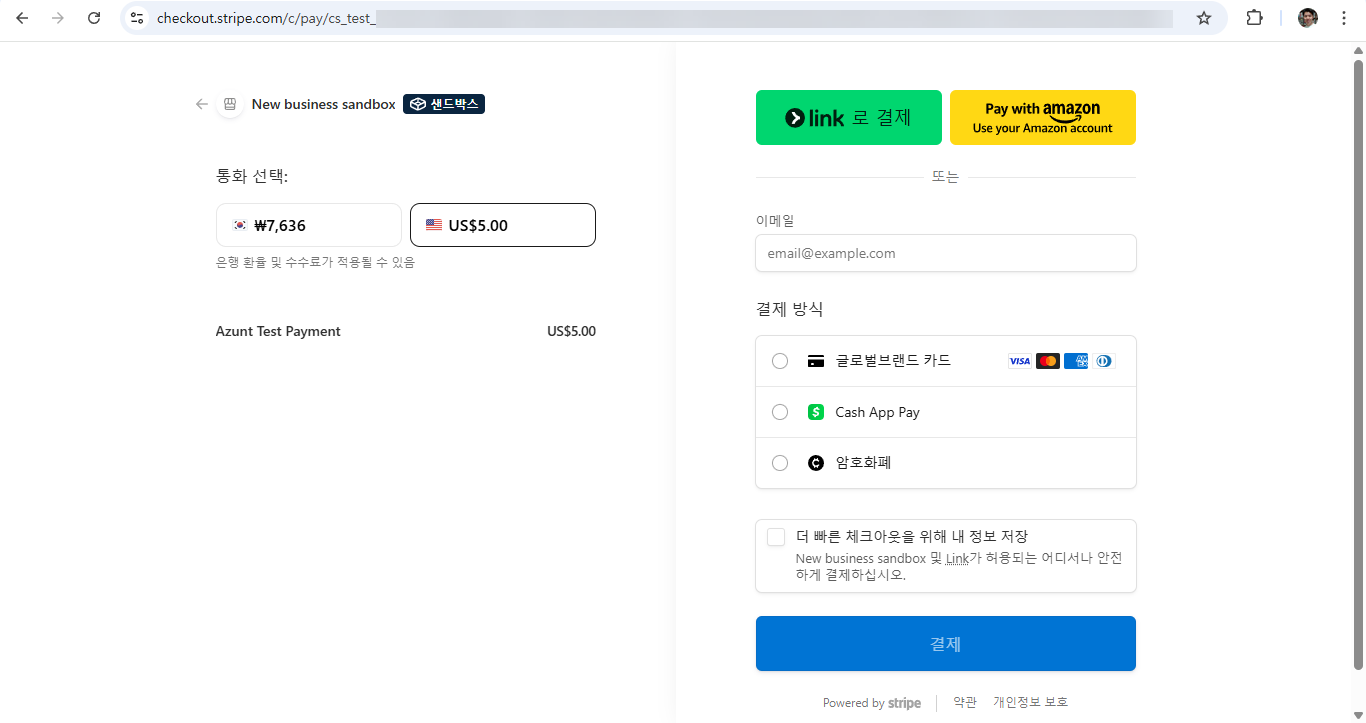
결제 페이지가 Stripe Checkout으로 리다이렉트됩니다.
그림: Stripe 샌드박스 결제 페이지로 이동
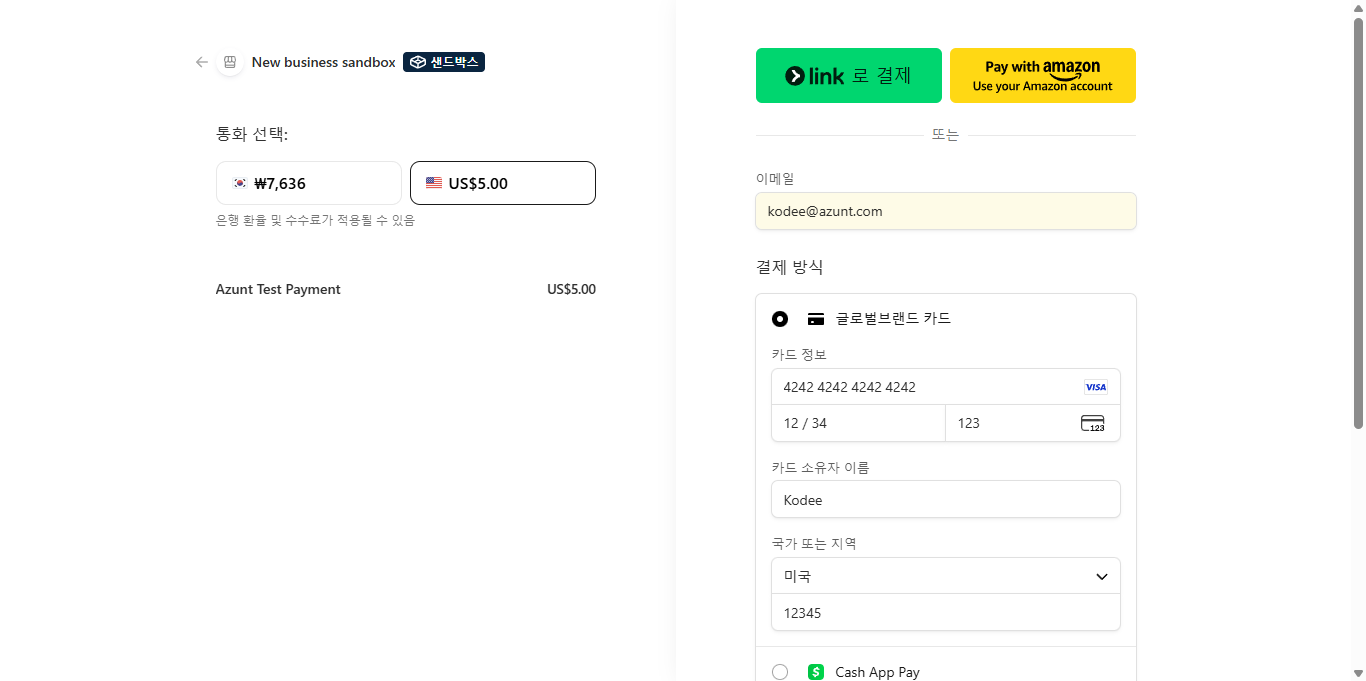
2) Stripe 테스트 카드로 결제합니다.
Stripe 테스트 카드 번호입니다.
4242 4242 4242 4242
만료일/보안코드는 아무 값이나 사용 가능합니다.
그림: 테스트 카드 번호 입력 후 테스트 결제 진행
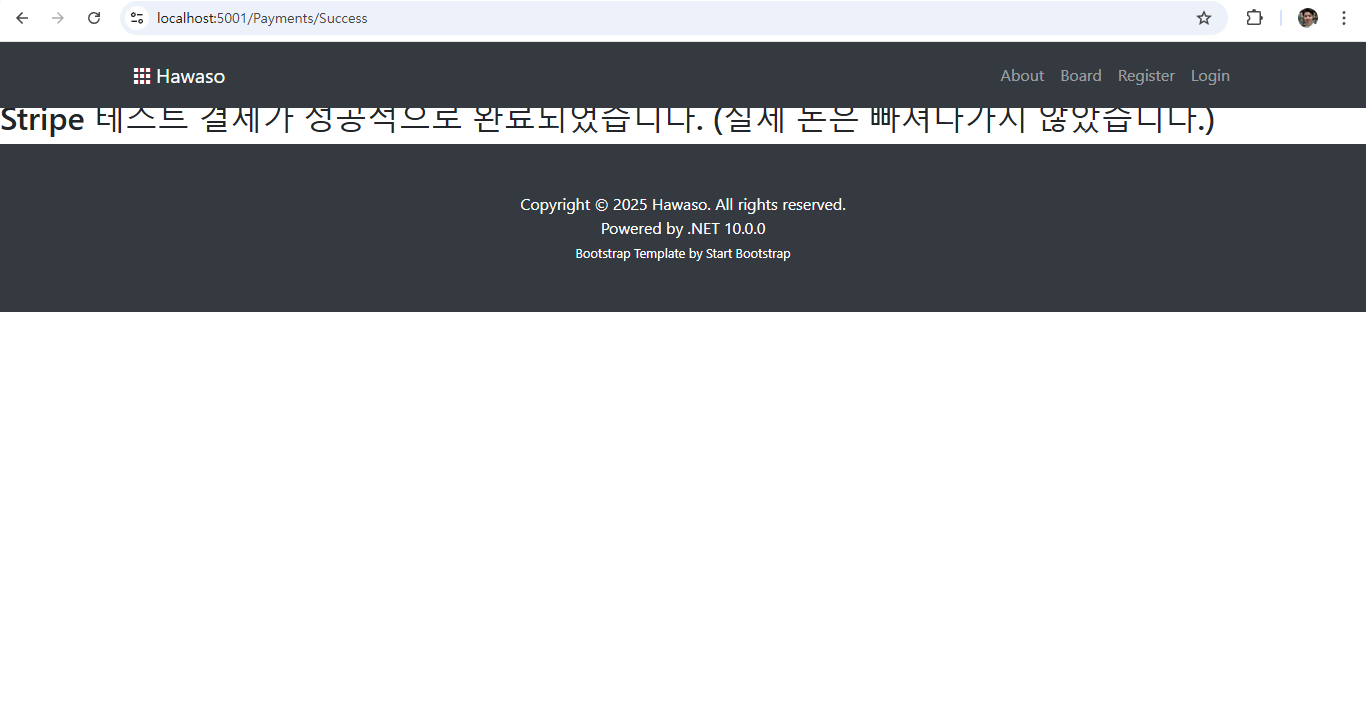
3) 결제 성공 후 Success 페이지로 이동합니다.
결제 결과 메시지가 출력됩니다.
그림: 테스트 결제 성공 페이지로 리디렉트
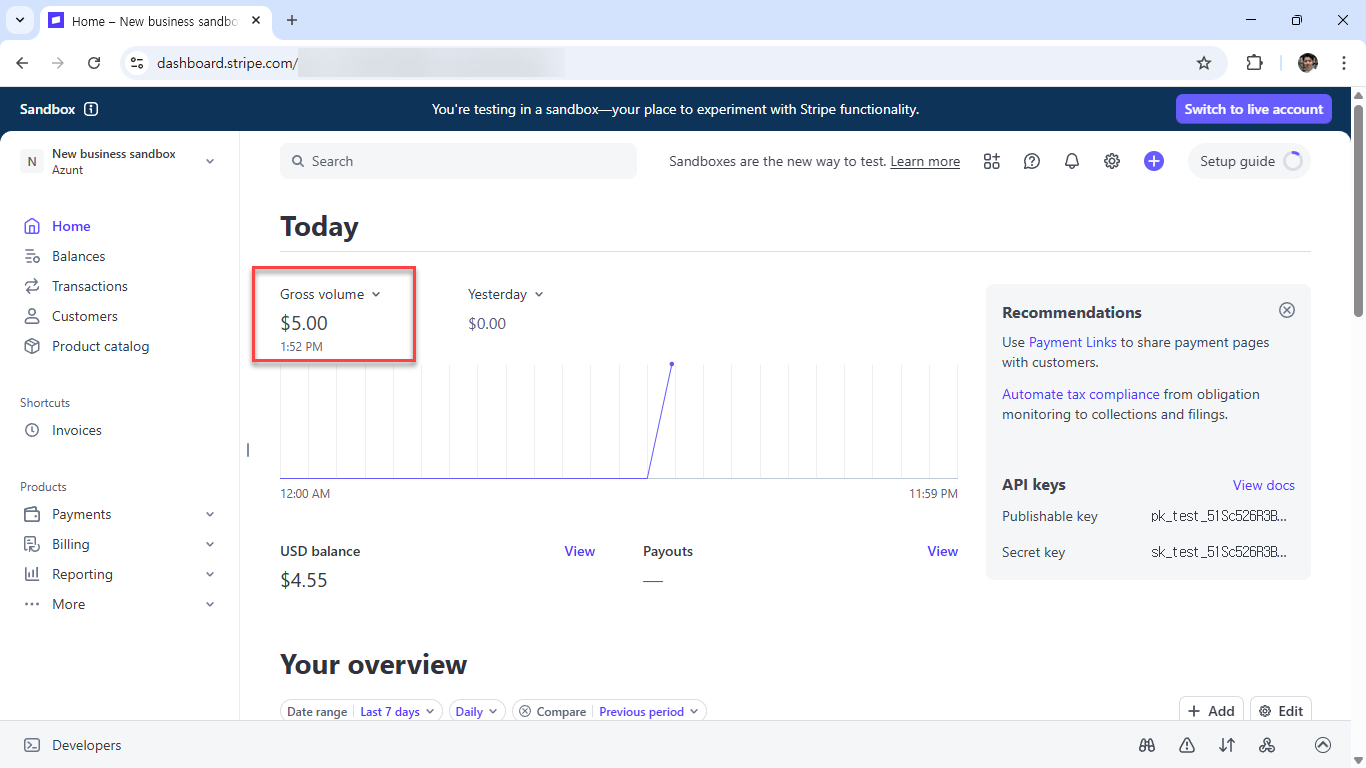
4) Stripe Dashboard에서 결과를 확인합니다.
- Payments → Today →
$5.00 - Balance →
$4.55(Stripe 수수료 차감 후)
이 값이 보이면 샌드박스 결제가 정상적으로 처리된 것입니다.
그림: 샌드박스 대시보드 결제 확인
10. 다음 단계 (실전 적용단계)
샌드박스 테스트가 성공했으므로 다음 단계로 이동할 수 있습니다.
다음 단계 로드맵입니다.
- Invoice 또는 Orders 테이블과 Stripe Checkout을 연동합니다.
- Checkout Session 생성 시 metadata에 InvoiceId를 저장합니다.
- Stripe Webhook(
checkout.session.completed)을 구현합니다. - Webhook 이벤트 발생 시 DB의 Invoice 상태를 업데이트합니다.
- 필요 시 이메일 영수증, Invoice PDF 등을 자동 발송합니다.
이제 샌드박스 테스트 환경은 완벽히 구축되었으며, 실제 서비스용 Stripe 연동으로 확장할 준비가 완료된 상태입니다.